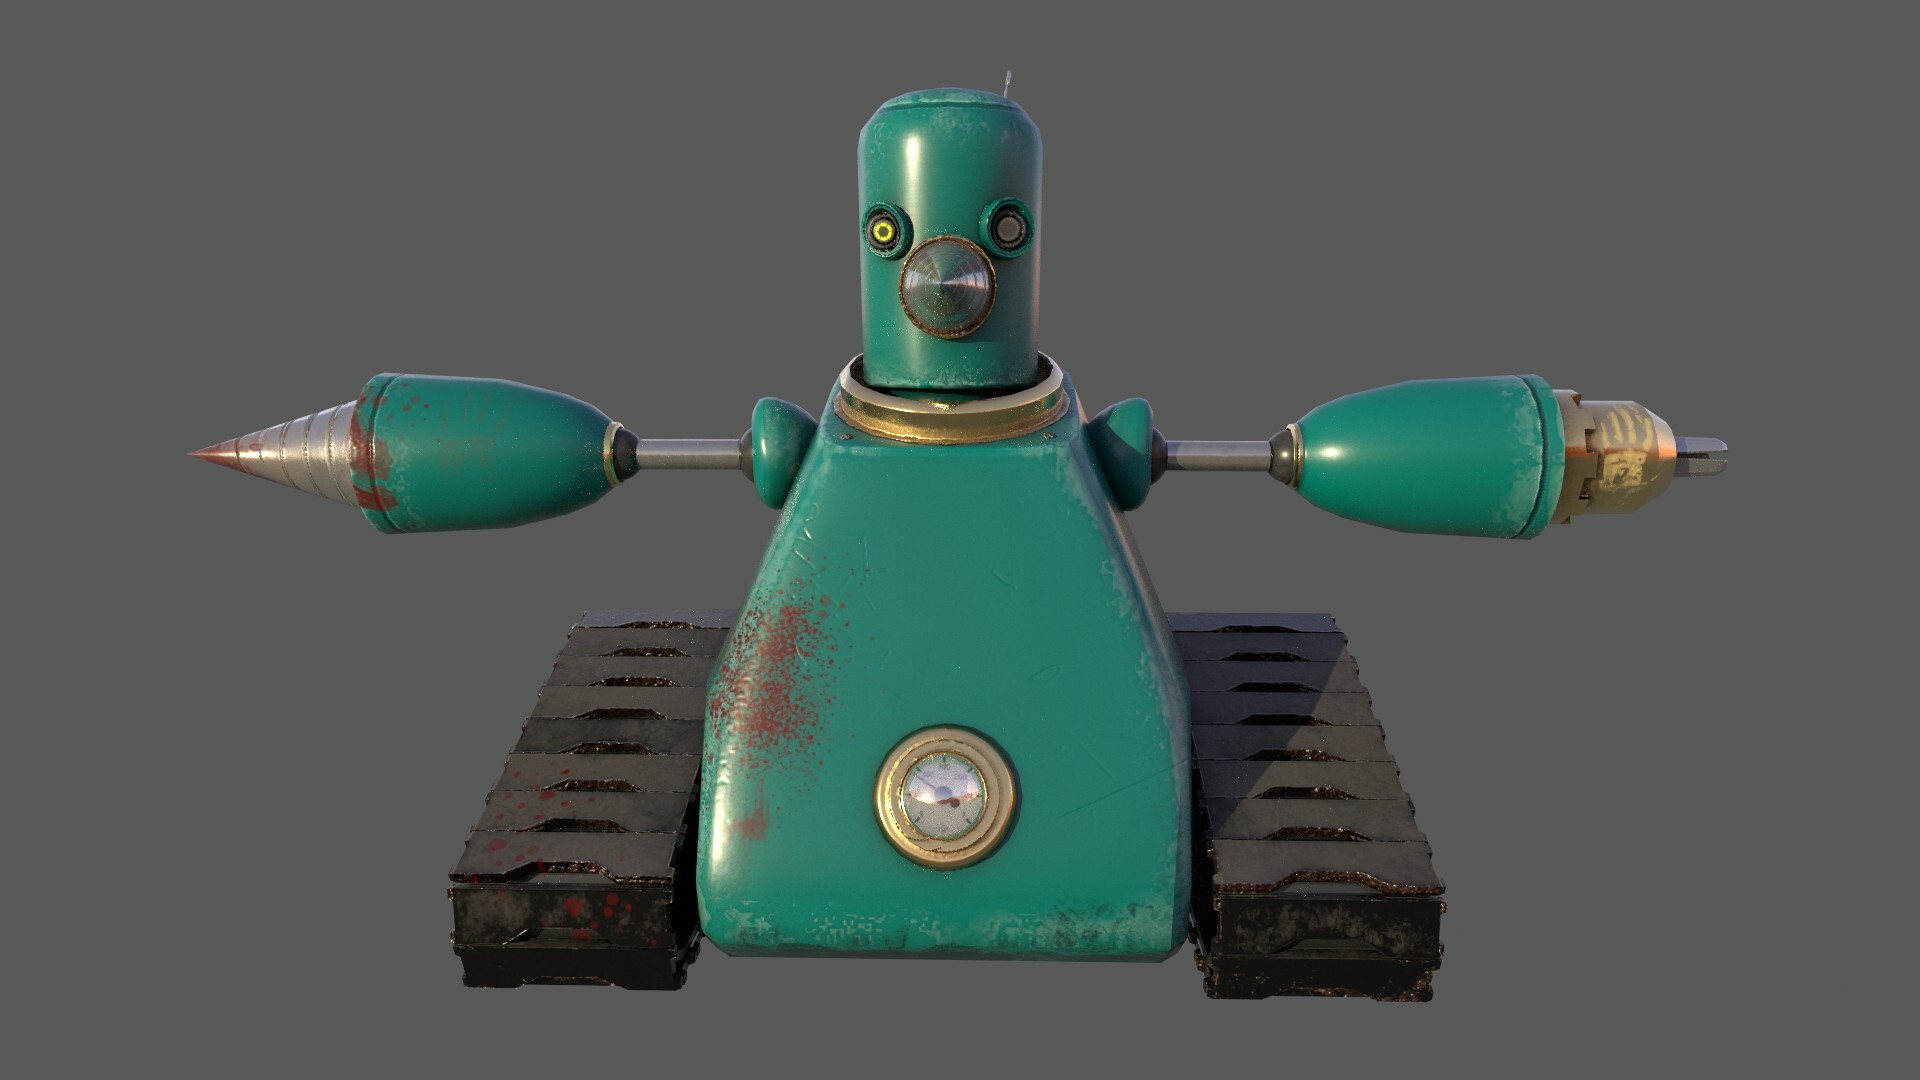
Grounder (Sonic the Hedgehog)
Background:
Grounder is one of main antagonists in the Sonic the Hedgehog Cartoon series.
He is a Badnik created by Dr.Eggman (Robotnik) whose purpose is to eliminate Sonic.
Moodboards:
Moodboards help me collate and refine some ideas and different routes that I could potentially take.
For this project I used multiple references. Most notably, the mechanical features of the classic Mega Drive version (Sonic the Hedgehog 2) is used as a base. I then mixed it with the Green colour from the early 90’s cartoon. In both versions the tank tracks and drills weren’t what I wanted so I looked for additional pieces of reference with actual tanks and drills.
When modelling, I wasn’t a big fan of the eyes from either version so I referenced "Xbot 4000” from the Love, Death and Robots series to help reshape the main parts of the eyes. He has these really cool camera lens style eyes that I thought would work well for this model. I felt overall, this gave the character more interest and brought it into 2020.
3D Modelling:
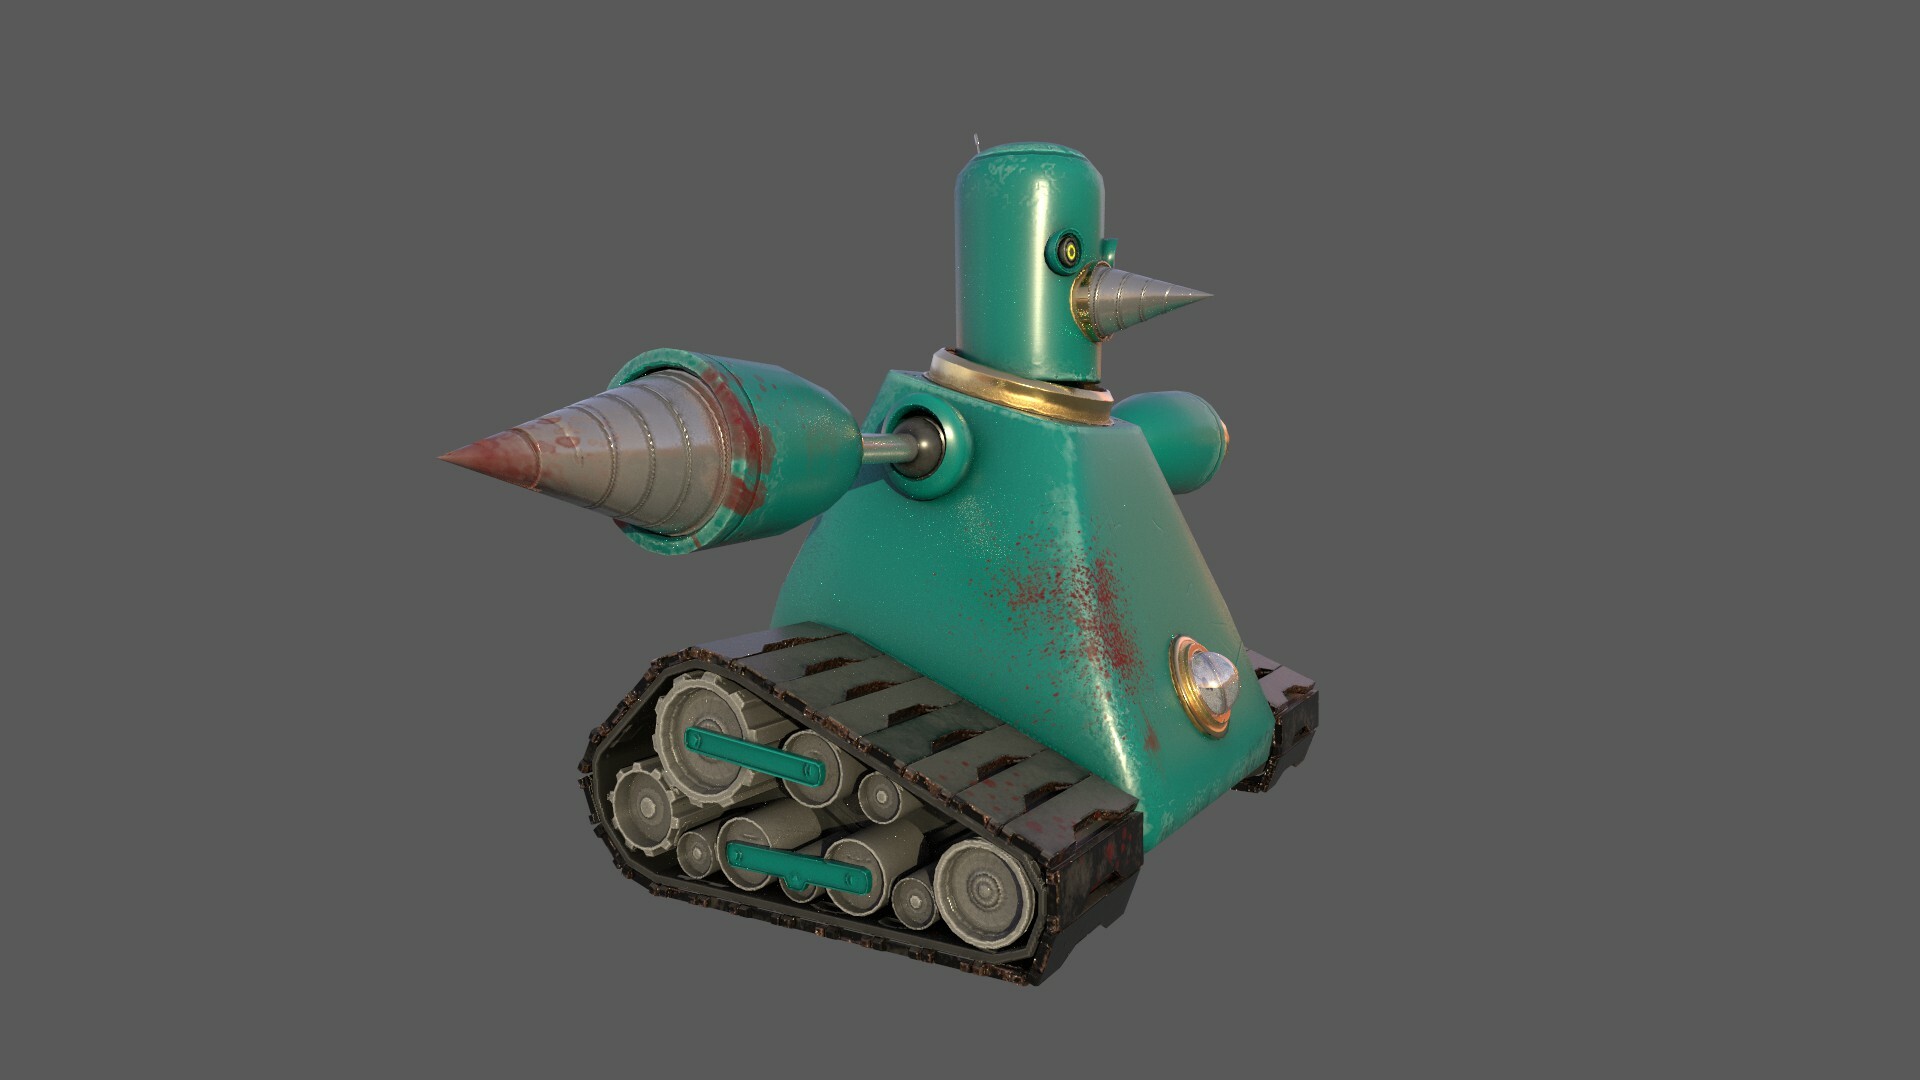
From here I modelled the character using 3Ds Max. When modelling I thought about his drills for hands. In the old cartoon, these swapped in and out depending on the task he was doing, so I thought making one of his arms look more lie a traditional drill bit would be cool, and then the other one could remain the classic cone shaped drill. This helps offset the overly symmetrical nature of the character. I also made one eye slightly larger than the other to break the symmetry.
In my initial sketches I did a different version of the arms where the shoulders were just 2 large Balls without a socket to sit into. This changed repeatedly while modelling as it just didn’t sit right with me. I’m happy with the shoulder sleeve I ended up giving him in the end.
Prepping the models:
Once I had the model fully done in low poly I copied it over and gave it a turbo smooth modifier and started adding swift loops and edges to hold and shape the Geometry a bit more.
To reduce the polygons down even further on the lowpoly version, I deleted any faces that wouldn’t be seen by the user.
I then exported both the high and low poly models.
Painting and rendering:
In substance I imported the low poly and used a projection of the High Poly model to add in additional detail.
I created an overlay folder with the curvature (overlay) and AO (multiply) maps set to blending modes. I then began painting and masking the main parts of the model. When modelling I decided it would be cool to use 2 variations of the metal. Steel and a damaged gold. I felt like this would break up the colour a bit and add some interest to the piece. I wanted it to feel like Grounder was a robot that wasn’t brand new, to achieve this I used a mixture of brushes to add dirt to the underside of the body. This is mirrored in a smart material for the tracks which is dirt on tyres. I used the worn steel material to give Grounder a bit of an aged effect on his paintwork. To top the design off I created 2 new Channels in the texture set Settings, an emissive and an opacity channel.
I used the opacity for the Dial Dome on Grounders Body, which allowed the Dial I designed to show through and I used the emissive texture on one of Grounders eyes in the form of a yellow alpha. I thought this would add a bit more interest to the character.
Reflection:
I learned a lot when modelling this character, there’s definitely some issues with the projection maps from the high poly not being great when projected onto the low poly mesh. But In general I’m super proud of this piece.
Final 3D render of Grounder in all his glory. Read on to see a bit of the process.
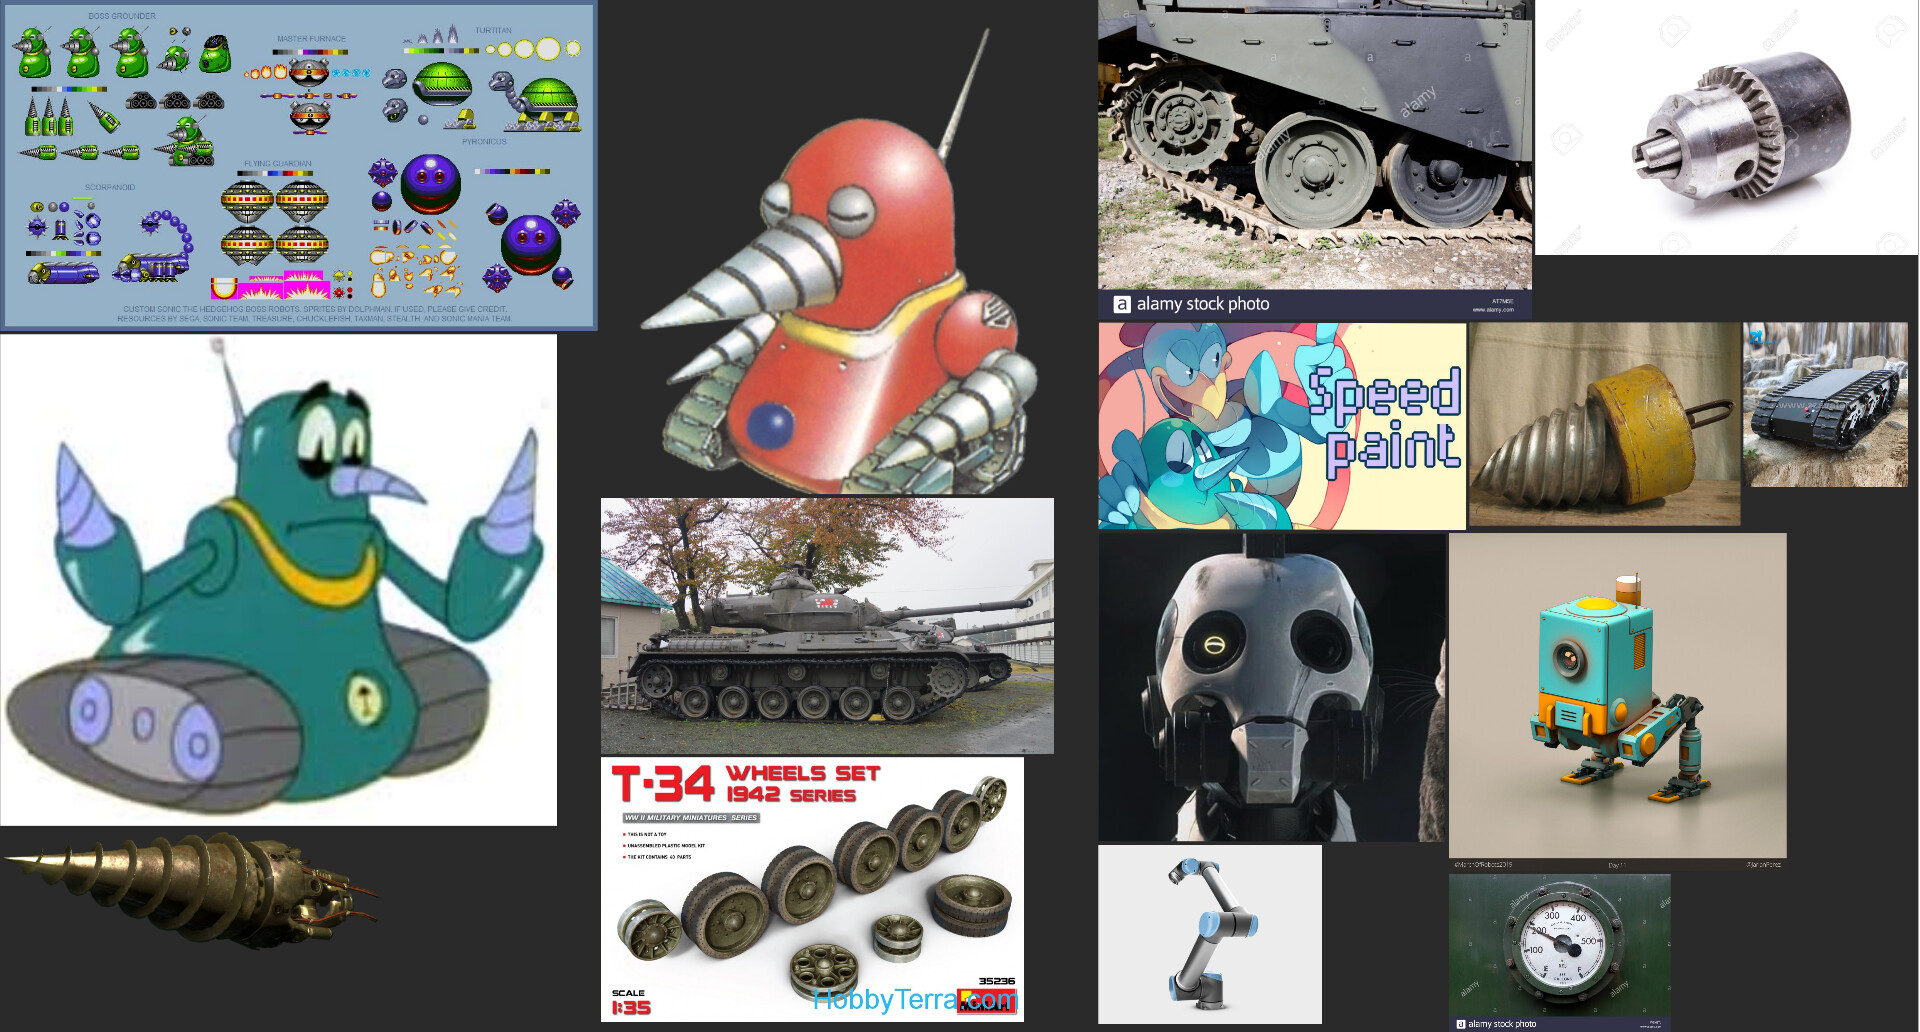
References Moodboard created in Pureref. I knew I'd need detailed references of tank wheels, eyes, drills and how the arms might work.

CharacterTurnaround_outline.
The Core idea here was to blend some aspects of the 90's cartoon version with the more mechanical isometric view (the red one) that I found.
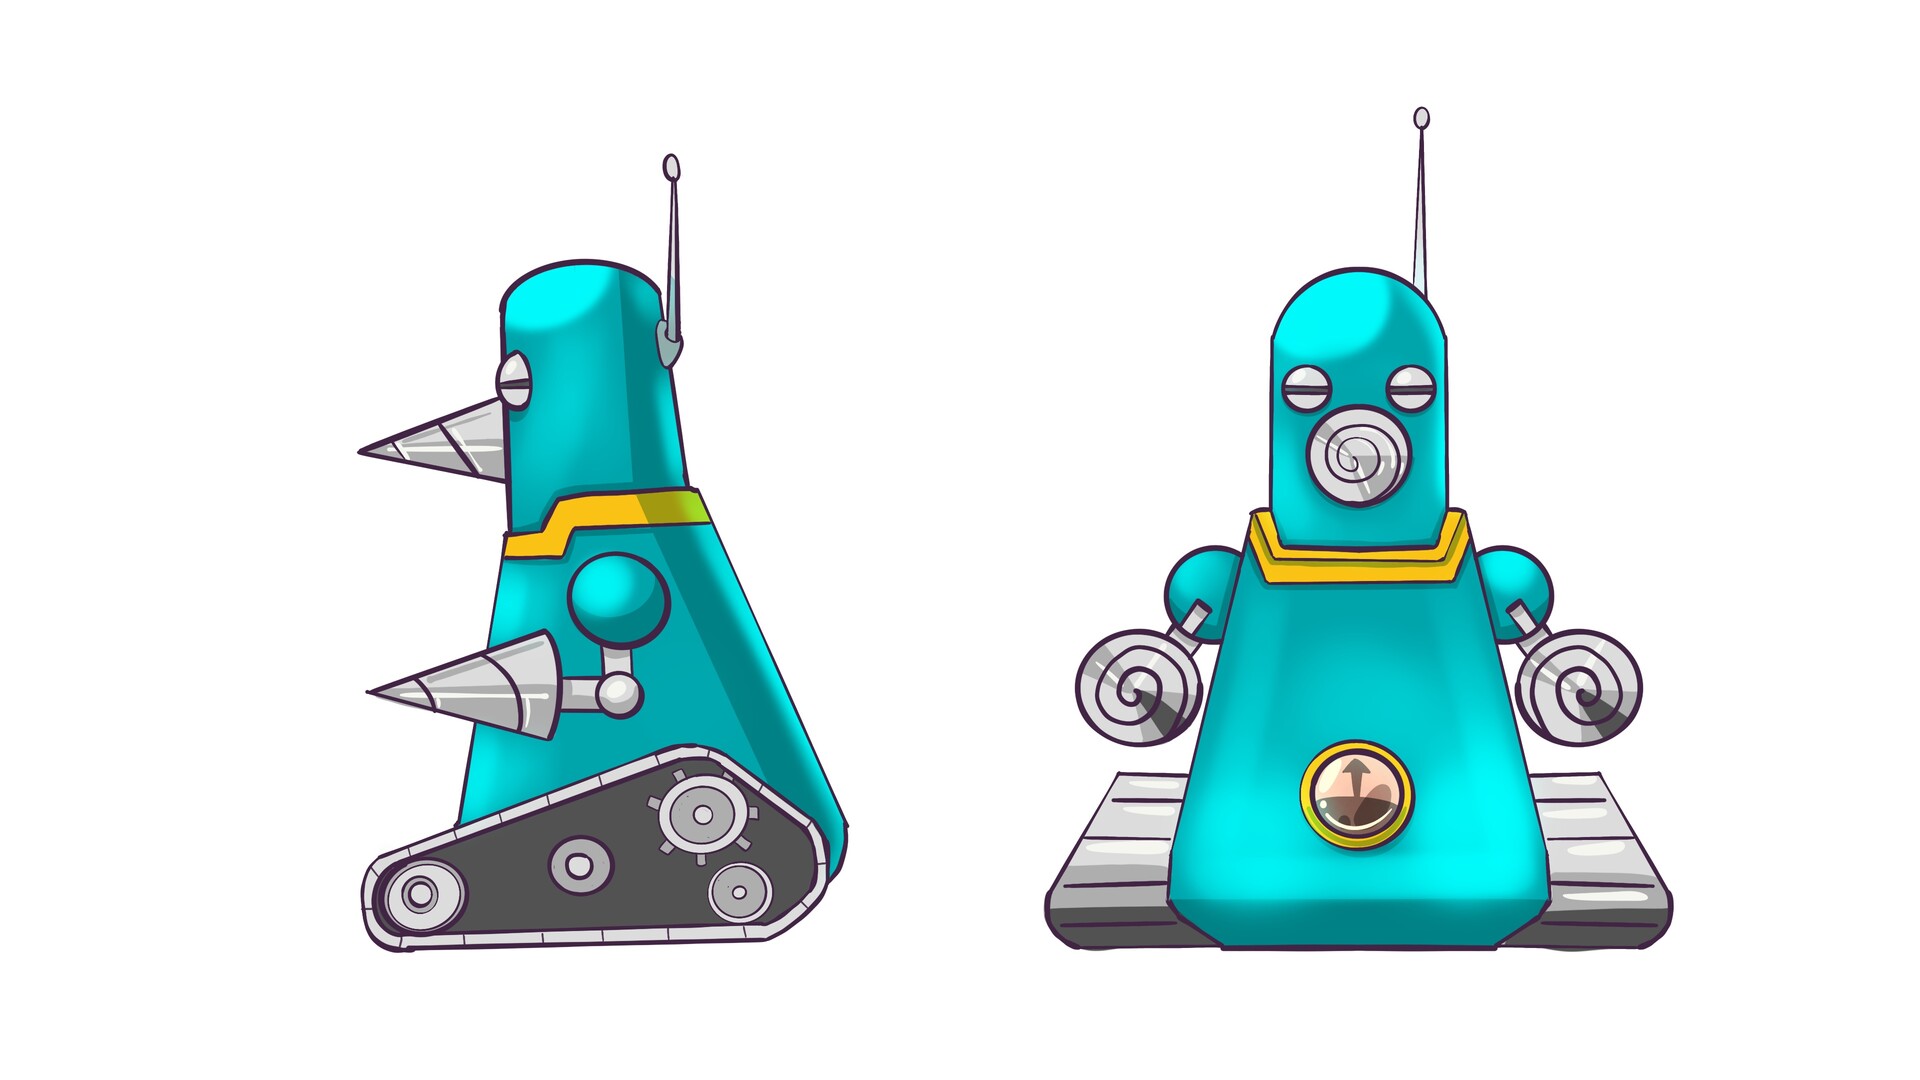
CharacterTurnaround_colour
I felt like the cartoon version carried instant recognisability so kept the green base colour and added yellow/gold to add an accent tone and to break up the greys/silvers a bit
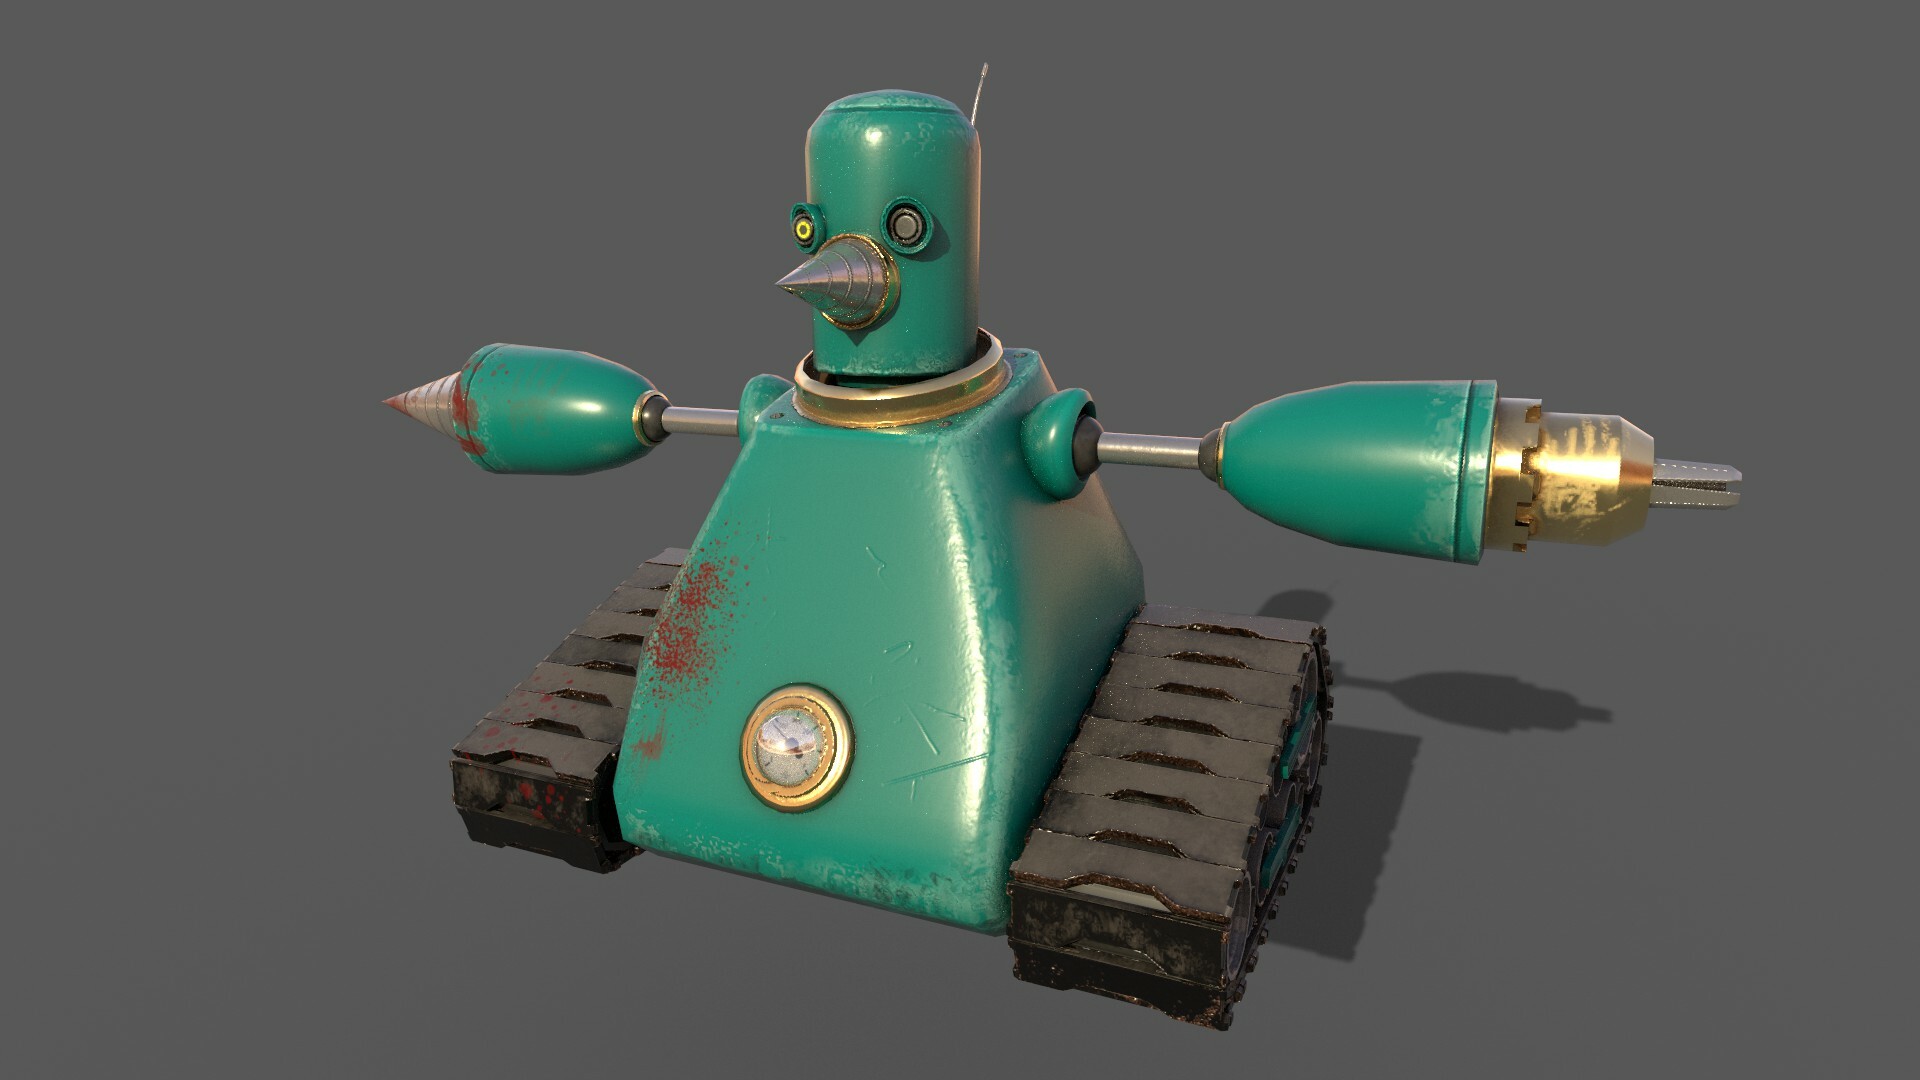
I decided to have one arm as a typical drill. Then to break up symmetry, pulled from my references to create the other arm as a drill bit. In the cartoon, he swaps out his hand all the time so I felt like it kept with the narrative.
You can see here that all the tank images came in handy for the wheels.